
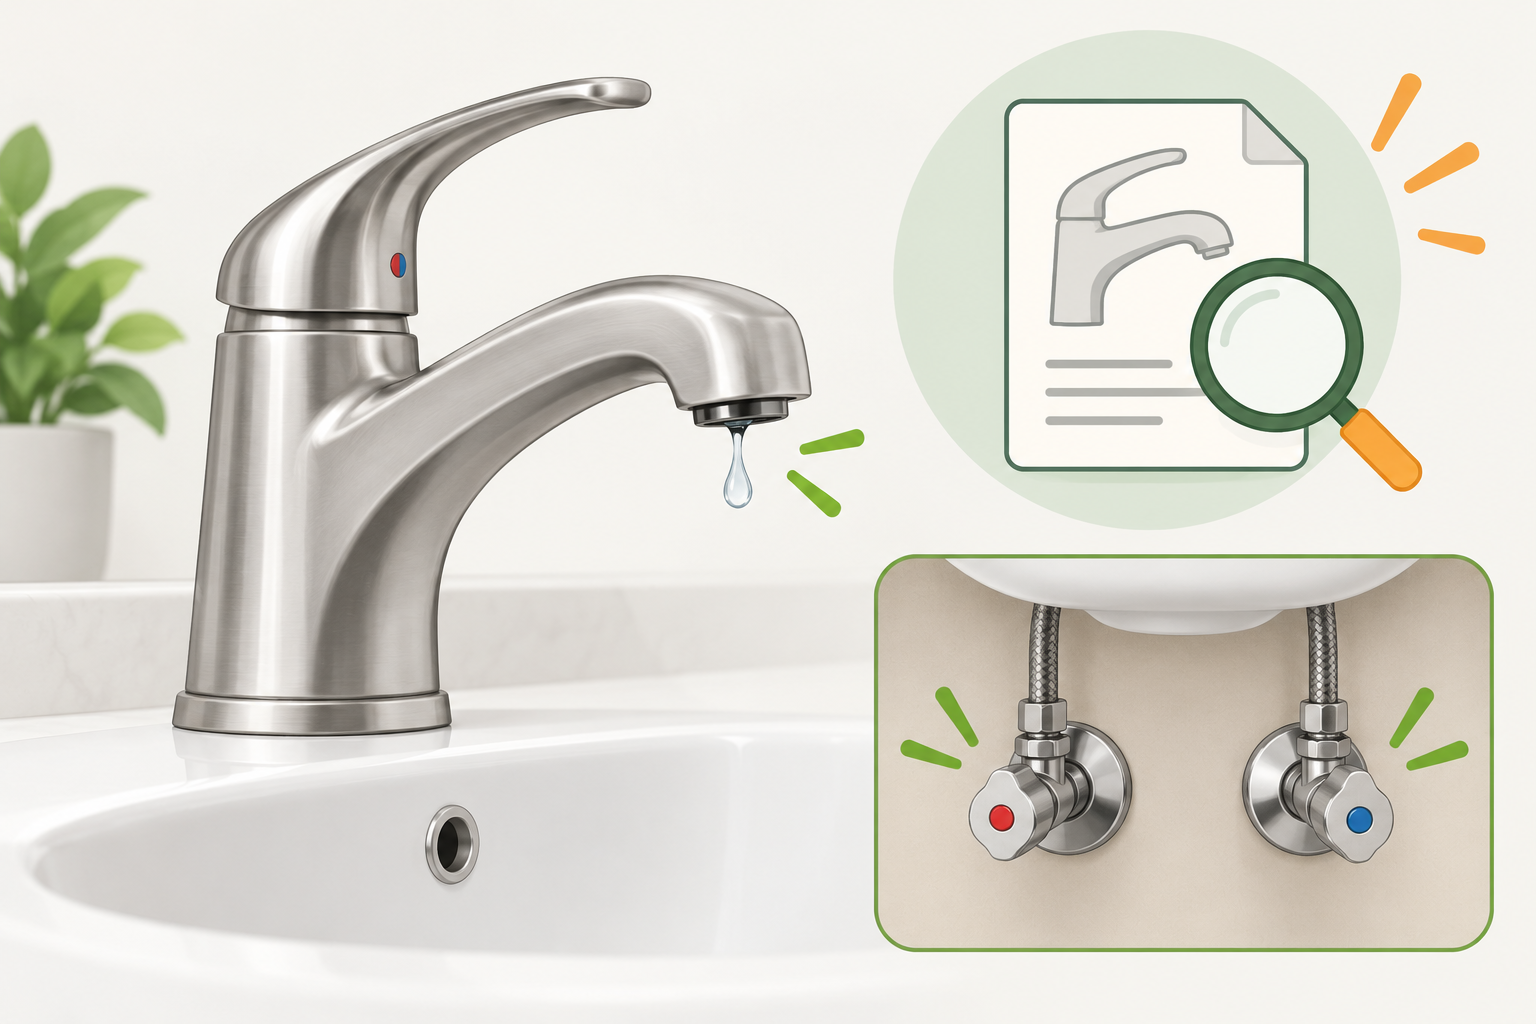
To fix a leaking tap, first identify where the water escapes and which faucet model you have. A drip from the spout often needs a model-specific internal seal, seat or cartridge; water beneath the sink may have a different cause. Shut off and verify the water supply before opening the faucet, and call a plumber if you cannot isolate it safely.
This is a sourced guide for an accessible sink tap, called a faucet in the US. FixNest has not supplied a hands-on repair record for this article. Its AI-generated illustration is explanatory, not a photograph of a completed repair or a substitute for your manufacturer’s parts diagram.
Tools, materials and rough costs
Use your faucet’s service instructions to decide which items are actually needed. These are broad USD planning allowances, not retailer quotes or reported personal spending. Taxes, shipping and the particular model can change the cost considerably.
| Item | Planning allowance | Notes |
|---|---|---|
| Correct screwdriver or hex key | $5–20 | Match the handle screw exactly |
| Suitable wrench | $10–25 | Only if the manual calls for one |
| Model-specific seal, washer or repair kit | $3–20 | Not interchangeable between all taps |
| Model-specific replacement cartridge | $15–80 or more | Confirm the part number first |
| Manufacturer-specified removal tool | $10–35 if required | Some cartridges need a dedicated puller |
| Towels, small tray and drain cover | $0–10 | Use suitable items already owned |
| Flashlight and protective eyewear | $10–30 if needed | Improve inspection and protect against debris |
Do not buy a cartridge merely because it resembles the old one. Check warranty support before ordering: you may need the model, purchase information and a description of the fault. A plumber’s labor is not included in these figures; request a local quote when professional work is needed.
Before you start: locate the leak
Dry the faucet, sink rim and accessible cabinet surfaces. Observe where fresh water first appears without removing parts. Keep electrical items away from wet areas. If there is a disposal, outlet or other electrical equipment near water, do not reach into that area; arrange safe isolation and professional help.
Use the location to choose your next action:
- Spout drips after the tap is fully off: investigate the internal valve components using the exact model’s troubleshooting guide.
- Water appears around the handle: a cartridge or associated seal may be involved, but identify the model before dismantling it.
- Water appears around a swiveling spout: consult the maker’s spout-seal instructions rather than assuming a valve cartridge will solve it.
- Water appears beneath the sink: supply connections, hoses, the faucet body or the drain may be involved. Do not treat every cabinet leak as a dripping-tap repair.
For example, Moen’s troubleshooting guidance describes cartridge-related leaks and emphasizes that replacement methods vary by model. Delta’s parts finder distinguishes several cartridge and repair-kit designs. These examples show why a universal washer replacement is unreliable.
Step-by-step: plan and carry out the correct repair
1. Confirm permission and the faucet identity
Renters should notify the landlord and obtain permission before changing fixture parts. Look for the brand and model on paperwork, a label, or the manufacturer’s identification tool. Take your own clear photographs of the whole tap and accessible labels. Do not loosen plumbing just to search for a number.
If you cannot identify it, contact the manufacturer with those photographs. A recognizable handle shape alone is not enough to order a compatible cartridge.
2. Read the exact service instructions
Find the manufacturer’s guide and parts drawing for that model. Confirm the required part, removal method, orientation and any special tool. Save the instructions where you can read them during the repair. If the guide requires access inside a wall, specialist plumbing, or unfamiliar disassembly, stop and use a plumber.
Do not transfer tightening values, clip positions or lubrication advice from another faucet. Some procedures that look similar use different retainers and seals.
3. Check the accessible shutoff valves
Locate the hot and cold supply valves serving the sink. Check visually for corrosion, dampness or damaged connections. Do not force a stiff valve, use pliers to overpower it, or disturb an old supply tube. If a valve is leaking, seized or inaccessible, this is a separate plumbing problem requiring attention before the faucet can be opened.
Know how to contact maintenance or a plumber if the water cannot be stopped. Do not experiment with a shared building supply.
4. Isolate and verify the water supply
Close the appropriate hot and cold supplies gently according to their design. Open the faucet to release remaining pressure and confirm that sustained flow stops. Water that continues running means isolation has failed; do not proceed with disassembly.
Allow hot components and water to cool before handling them. Delta’s repair guidance also begins with shutting off the supplies and draining the remaining water. Shutoff verification matters more than rushing to the visible screw.
5. Protect the drain and organize small parts
Cover the drain opening and place a towel and small tray nearby. Keep removed screws and clips in sequence. Photograph each stage with your own camera before changing the arrangement. Those images are for reassembly and documentation; a generic diagram cannot show the orientation of your particular parts.
Keep the workspace dry enough to avoid slipping. Use lighting that does not introduce electrical equipment into a wet cabinet.
6. Follow the model-specific removal procedure
Remove only the components described in the service guide, using the specified tools. Stop if a cover, retaining nut or cartridge will not release as instructed. Twisting harder can damage the faucet body or move connected pipework.
Do not pry against a decorative finish or substitute a longer lever for a proper removal tool. Keep any reusable retainer identified; do not assume the new package contains every required piece.
7. Install the confirmed replacement part
Compare the part number and orientation with the manufacturer’s instructions before installation. Reassemble in the stated order. Use only the lubricant, sealant or other consumable explicitly specified for that part. Thread tape is not a general cure for a worn internal seal, and extra tightening can damage components.
If the new part does not fit normally, stop. Do not trim a seal, remove an unexplained spacer or force a mismatched cartridge into place.
8. Restore water slowly and inspect
Recheck that the assembly is complete. Restore the supply gradually while watching the faucet and accessible connections. Operate the handle normally, then turn it off and check the original leak location. Wipe surfaces dry so fresh moisture is easier to see.
Stop and isolate the water again if a new leak appears. Do not leave the sink running unattended while investigating the cabinet.
9. Check again after normal use
Look for renewed drips and dampness after the tap has been used and turned off. A continuing leak means the diagnosis, part, installation or faucet body needs further assessment. Record what changed and contact the manufacturer or a plumber rather than repeatedly tightening the assembly.
Common mistakes
Assuming every tap uses a rubber washer. Cartridge, ceramic-disc and other valve arrangements differ. Identify the design before opening it.
Repairing the wrong location. A leak from the drain or supply hose is not solved by replacing a spout cartridge.
Forcing shutoffs or corroded parts. The repair stops being a small fixture job when a valve or connection cannot be moved safely.
Using unapproved grease or sealant. Materials must be compatible with the specific seals and potable-water application. Follow the manufacturer’s instructions instead of treating any household lubricant as equivalent.
When to call a professional
Call a plumber if you cannot fully stop the water, the leak is concealed, the cabinet or ceiling is damaged, connections are corroded, the faucet body is cracked, or the problem remains after a correctly specified repair. Leave wall opening, supply-line alterations and any work requiring specialist skills to qualified help. For renters, report the problem to the landlord or maintenance team promptly.
Related reading
- Basic tools every beginner should own
- Start Here: assess the job before you begin
- Browse Basic Repairs
Additional related article links will be added when those guides are public. Report unclear instructions through the Contact page.