
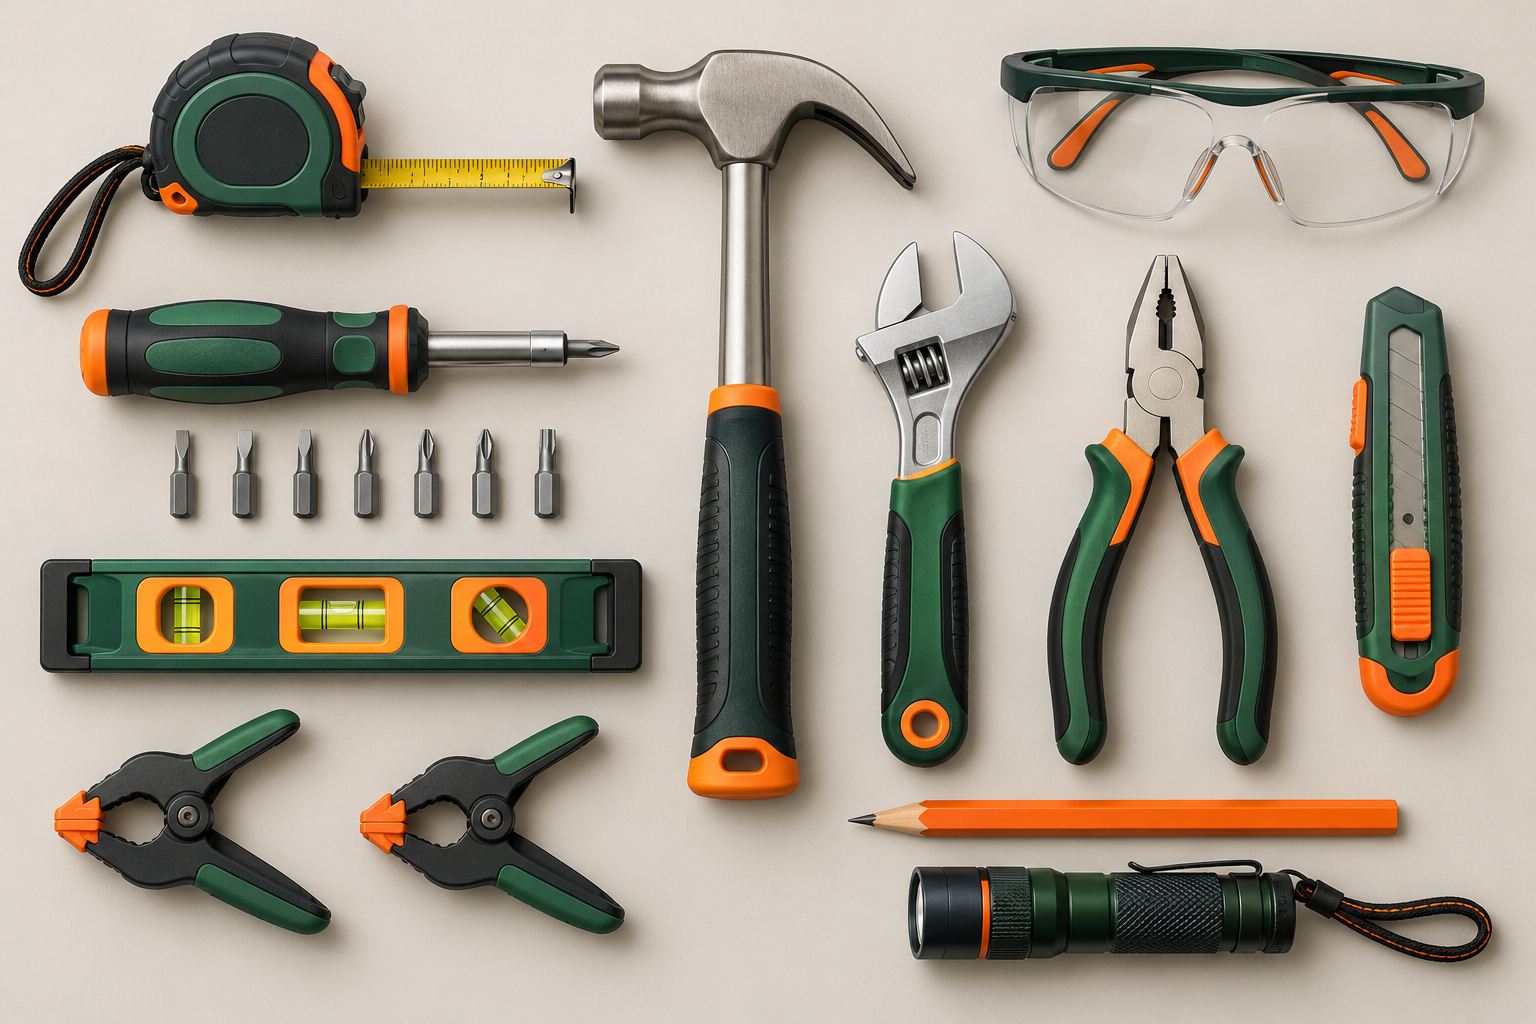
Start with a small set of measuring tools, well-fitting screwdrivers, a hammer, pliers and basic protective equipment. Add specialist tools when a particular project needs them; a large kit is poor value if its useful pieces are missing or uncomfortable to use. Tools help with a defined task, but they do not make electrical, gas or structural work suitable for a beginner.
This is a sourced buying and planning guide, not a report of tools personally tested by FixNest. The illustration is AI-generated and shows a general arrangement, not a photographed toolkit or a product endorsement.
Tools, materials and rough costs
The amounts below are broad US-dollar planning allowances, not checked offers, personal purchase prices or promises about a particular retailer. Quality, size, local availability and taxes change the total. Compare current prices before buying, and subtract items you already own.
| Item | Planning allowance | What it adds |
|---|---|---|
| Tape measure | $8–20 | Measures furniture, clearances and materials |
| Multi-bit screwdriver | $10–25 | Handles common screws when the correct bit is included |
| Claw hammer | $12–30 | Drives and removes suitable nails |
| Adjustable wrench | $10–25 | Turns accessible nuts with flat sides |
| General-purpose pliers | $10–25 | Grips suitable small parts |
| Retractable utility knife | $6–15 | Cuts packaging and appropriate sheet materials |
| Small spirit level | $8–20 | Checks level and plumb |
| Safety glasses | $5–15 | Protects eyes from relevant impact hazards |
| Small clamps | $10–25 per pair | Holds suitable work on a stable bench |
| Pencil, storage box and task light | $15–45 combined | Marking, organization and visibility |
Buying everything new from this list gives a rough allowance of $94–245 before tax. That is a planning sum, not a recommended minimum spend. A screwdriver, tape measure and safety glasses may be enough for your first furniture adjustment. Materials such as screws, fillers and lubricants belong in the budget for the actual job.
Before you choose a kit
Renters should check their lease and ask before altering fixtures, drilling walls or repainting. Keep the landlord’s repair responsibilities separate from jobs you are allowed to do. A basic toolkit is useful even when you only measure a space, assemble freestanding furniture or document a problem for maintenance.
Read the tool’s instructions and inspect it before use. The Canadian Centre for Occupational Health and Safety recommends choosing tools for their intended jobs and taking damaged tools out of use. A loose hammer head, split handle or worn driver tip is a reason to replace the tool, not a challenge to work around. See its general hand-tool guidance.
Build your beginner toolkit step by step
1. Write down your next three small jobs
Choose specific tasks rather than broad ambitions: tightening a cabinet hinge, measuring storage space or adjusting a loose furniture handle. Write the fastener type and material beside each job. This turns a shopping list into a project list and exposes specialist requirements before you spend money.
If a task involves wiring, gas pipework, structural movement or a concealed leak, put professional assessment on the list instead of a new power tool. Do not buy a kit on the assumption that every home problem is a small repair.
2. Choose a tape measure you can read easily
Look for clear markings and a lock you can operate comfortably. For US projects, inch markings are useful; dual inch-and-metric markings help when furniture instructions use millimeters. Check the length against the spaces you expect to measure rather than automatically choosing the longest tape.
Measure clearances as well as the item itself. A storage unit may fit a wall but block a door, drawer or service panel. Write measurements down and label which is width, depth and height. Keep fingers away from the returning blade and retract it under control.
3. Match screwdrivers to actual screw heads
A multi-bit driver saves storage space only if its bits match your screws. Check for Phillips, slotted, hex or Torx heads in the furniture or fixtures you intend to work on. Metric and imperial hex fittings are not interchangeable just because two bits look similar.
The bit should seat firmly without rocking. CCOHS explains that the driver must match both the screw-head type and size, and that a screwdriver should not substitute for a pry bar. Support loose work on a bench instead of holding it in your palm. See its screwdriver safety guidance.
4. Pick a manageable hammer and gripping tools
A general-purpose claw hammer suits many light household jobs, but comfort and control matter more than buying the heaviest option. Hold it in the shop if possible. Check that its head and handle are secure and that the grip does not force an awkward wrist position. Wear suitable eye protection for striking work; CCOHS’s hammer guidance explains the risks of damaged striking faces and unsuitable use.
Choose an adjustable wrench with jaws that move smoothly and close squarely. It is for suitable flat-sided nuts, not for crushing decorative fittings. Pliers have different purposes; they should not replace a correctly fitting wrench on a nut you need to preserve. Stop if force starts bending the part or moving surrounding pipework. See wrench safety guidance.
5. Add marking, holding and inspection tools
A pencil and small level often prevent more rework than another cutting tool. Use them to check an intended position before fastening anything. A level does not locate hidden cables or pipes, and a pencil mark does not confirm that a wall can support a load.
Clamps help keep appropriate work stable on a suitable bench. Choose clamps with enough opening for the material and use protective pads where needed. Add a task light so you can inspect the work without balancing a phone in one hand. Clear the floor and keep children and pets away from the work area.
6. Store the kit so you can inspect it
Separate sharp edges from measuring tools and loose fasteners. Retract a knife blade before storage, keep small parts in labeled compartments and dry damp tools before putting them away. Store the box securely where children cannot access it. A simple inventory inside the lid makes missing pieces obvious before the next job.
Common mistakes
Buying by piece count. A kit may count every small bit as a separate item. Compare the actual tools, useful bit sizes and replacement availability instead.
Starting with power tools. A drill also needs the right bit, fixing, material knowledge and safe work setup. Borrowing or renting may make more sense for an occasional approved task. Read the manufacturer’s instructions and get competent guidance before using unfamiliar power tools.
Skipping protective equipment. Ordinary prescription glasses are not a substitute for suitable safety eyewear. Select protection for the actual hazard; gloves that help with rough materials may be unsuitable around rotating machinery.
Using furniture as a workbench or standing platform. A chair is not a ladder. Arrange a stable work surface and suitable access equipment before starting; stop when you cannot work with secure footing.
When to call a professional
Call a qualified professional for mains electrical work, gas work, structural repairs, suspected hazardous materials or plumbing beyond a straightforward accessible fixture repair. Also stop when a fastener is severely corroded, a fitting moves with attached pipework, or the cause of a recurring problem is unclear. Owning the right-looking tool is not proof that the repair is within your skills.
Related reading
More article links will be added as the related guides become publicly available. For how FixNest uses sources and handles corrections, read the Editorial and Testing Policy.